How To Add Presets In Lightroom Mobile 2024?
In the world of photography, understanding How To Add Presets In Lightroom Mobile is akin to mastering the art of organization. It’s great that with just a few taps you can apply presets in Lightroom Mobile to give your photos a uniform and elegant appearance. Presets are magical filters that instantly enhance images and take just a few clicks to apply.
However, let’s discuss how you can integrate these great tools into your Lightroom Mobile app and give more life to your photos. Are you eager to jazz up your photographs using some cool presets? Let’s get started and discover How To Add Presets In Lightroom Mobile.
How To Add Presets In Lightroom Mobile 2024?
If you have some new Lightroom Mod APK presets that you want to import and actually start using well here’s a step by step tutorial below how to do it following these steps:
Step 1: Import Your Preset Files
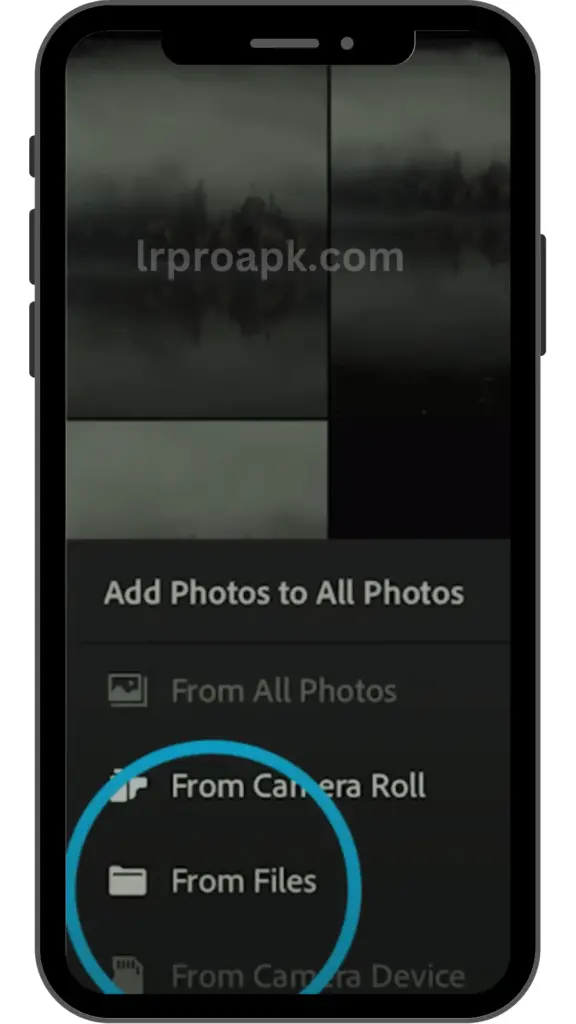
Download DNG files which include presets and import them inside of the Lightroom mobile app. Simply click on the 3 dot button and press on the “add image” icon then click on “from files.
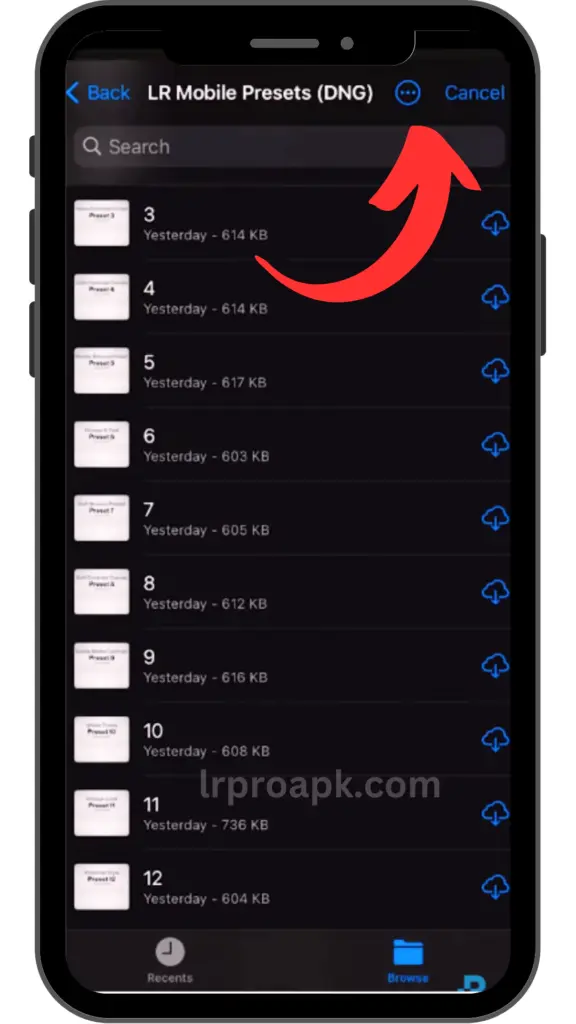
Navigate to the folder where you download your preset file. You can get a free bundle of presets here. After completing the download press on LR mobile Presets DNG file.

Inside of DNG files, you’ll see these types of presets. Now the question is how to import preset in lightroom mobile.
For importing them click on the 3 dot icon and go to select then we can go and click on every single photo that we want to import into Lightroom mobile with that complete press open all of your DNG presets will be imported into Lightroom.
Step 2: Save Your Presets
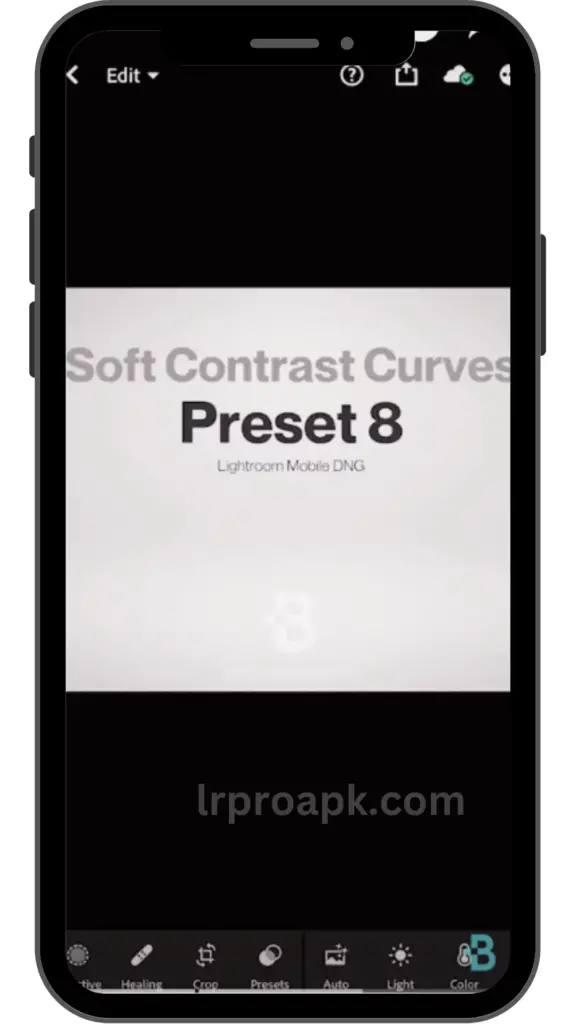
Now all of your imported DND files will be found within the “all photos” album and then you’ll click on one of the files that you want to create a preset.

After clicking on the desired preset, I choose the number 8 preset, click on the 3 dot icon in the upper corner and then select “Create Preset”.
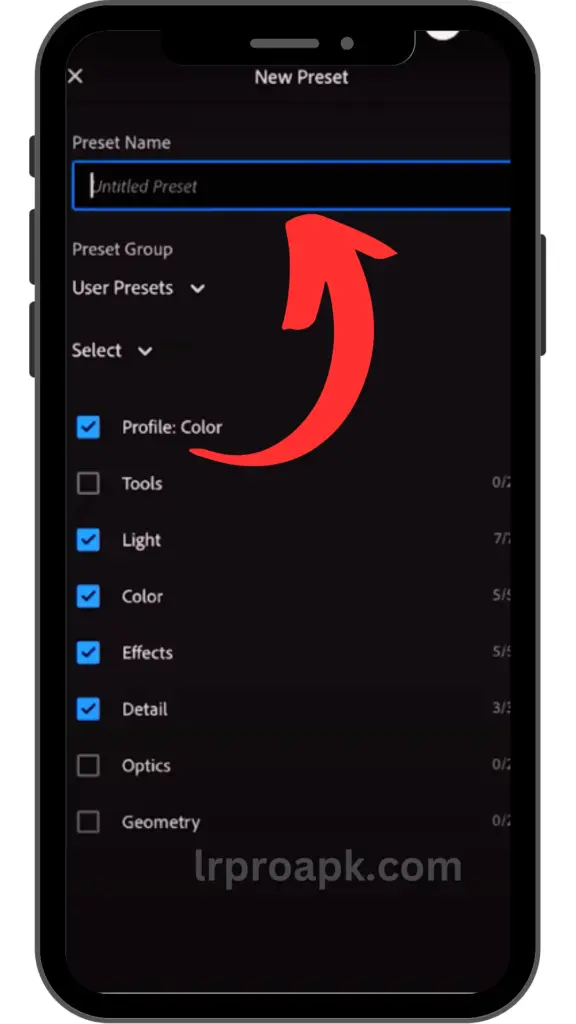
Now click on the 3 dot button and create a new preset group by giving it an interesting name.
Step 3: Save all DNG Presets
Just like before you’ll just select your image, click on 3 dots, and press on “create preset” By giving your preset a name, add it to your to a group of your choice for organization, and then press the “check mark” to save your new preset.
Once you’ve created all of your presets that brings us into step number 4 below, which is actually applying your preset onto a photo.
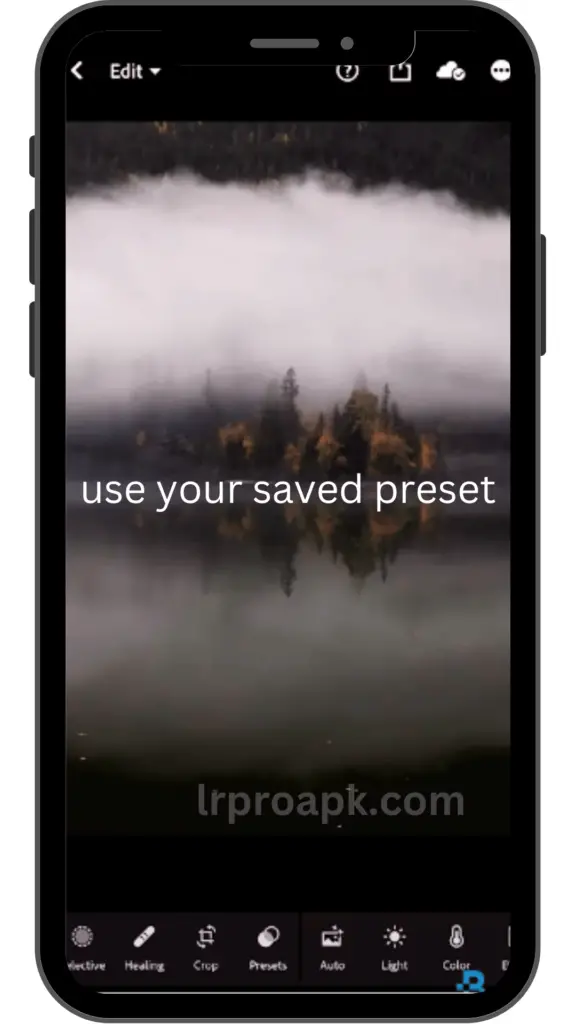
Step 4: Use Your Saved Presets
Select any image from your library just click on it and make sure that you’re in the edit module of lightroom then select the presets option now within your library you’re going to navigate to the folder that all of your presets have been saved. From the bundle just select any preset and apply it on your photo.
Note: If you have a paid adobe creative cloud subscription, this process is a lot easier because you can just upload your presets to Lightroom CC then it will automatically sync with Lightroom mobile so all of your presets are done automatically for you.
So with all that, if you already have a preset pack that you’re using and you want even more free presets take advantage of them. Make sure to check out my Lightroom presets download post which includes a lot of presets to edit some of the most popular editing styles. I hope you understand How To Add Presets In Lightroom Mobile after reading this guide. Feel free to share your ideas in the comment section.