Best Lightroom Export Settings For Instagram, Facebook, Print, & More
Exporting your photos in Lightroom is very important especially when you want to share your photos on social media or print them. No matter if you are working with the regular Lightroom version, the Lightroom mobile, or even the Lightroom mod apk, understanding how to set the proper Lightroom Export Settings can make a huge difference in terms of the quality of the images.
In this article, we will guide you on how to export your Lightroom photos and videos for Instagram, Facebook, and print.
Why Export Settings Matter
The export settings in Lightroom define the appearance of the final image look when displayed on various social media platforms. These settings define the quality, size, resolution, and color depth of an image.
Incorrect settings will result in images not clear, low resolution or not the right color. On the other hand, the correct settings make your photos to be very clear and bright when viewed on the internet or when printed.
Basic Lightroom Export Settings
Here are the basic Lightroom export settings defined in steps:
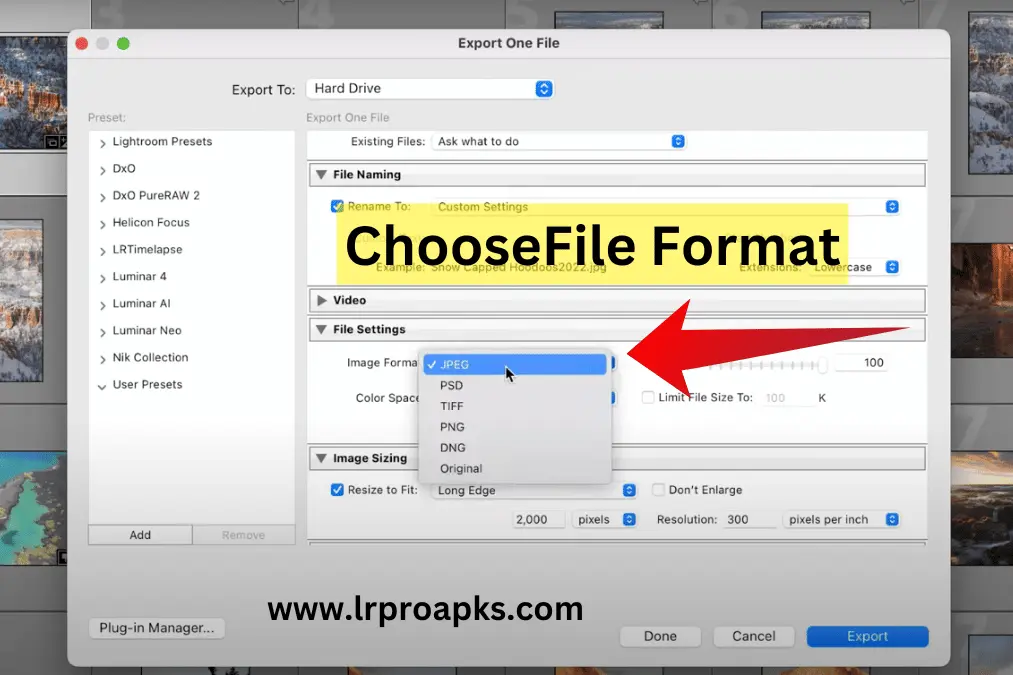
- File Format: Choose JPEG as the format of the file.
- Quality: Choose quality 80% for better quality of the picture and less size of the file.
- Color Space: Select sRGB if you wish to get as close to the real color as possible when designing for the web.
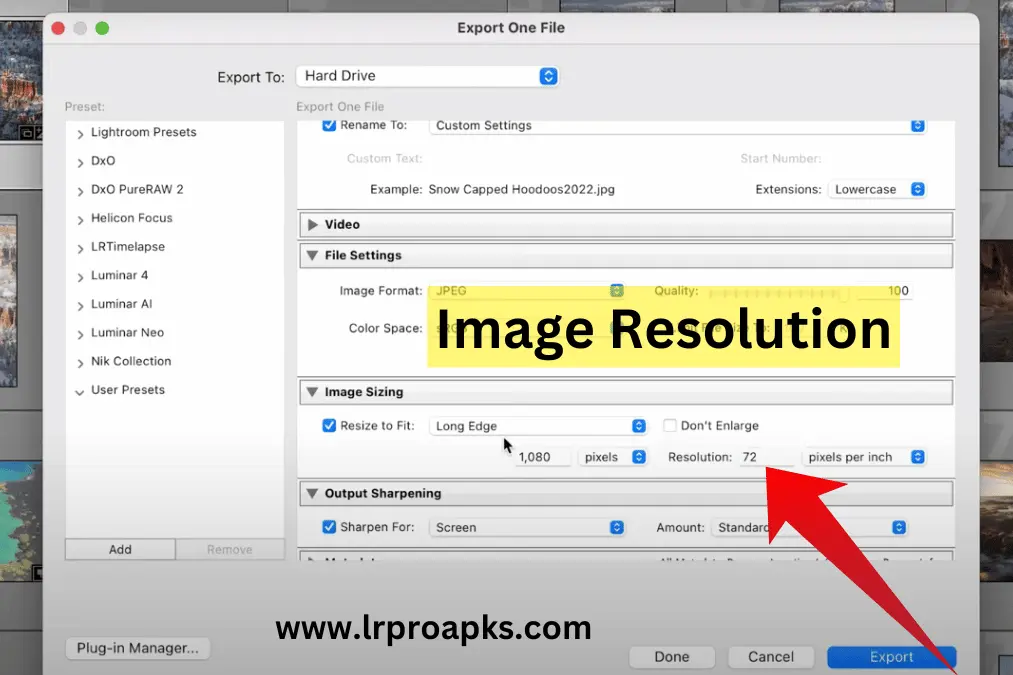
- Image Sizing: Shrink the image to 2048 on the longest side of the image.
- Resolution: Choose 72 ppi for screen use.
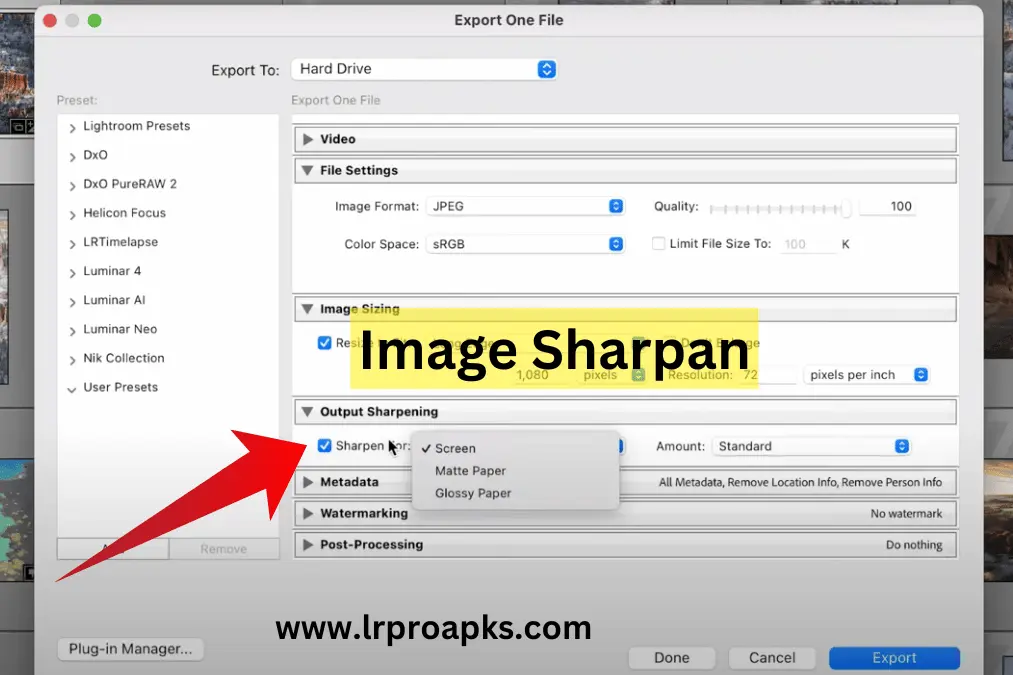
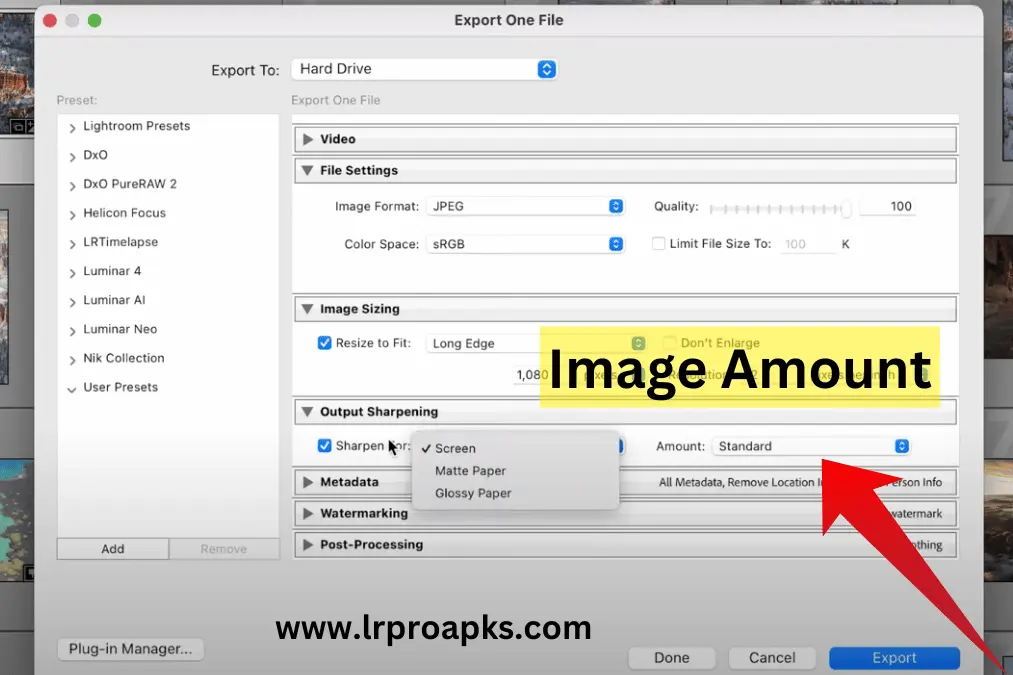
- Sharpening: Use standard sharpening for screens.
- Export: To export the image with these settings, click “Export”.
These steps will help you to prepare your photos for sharing on the Internet.
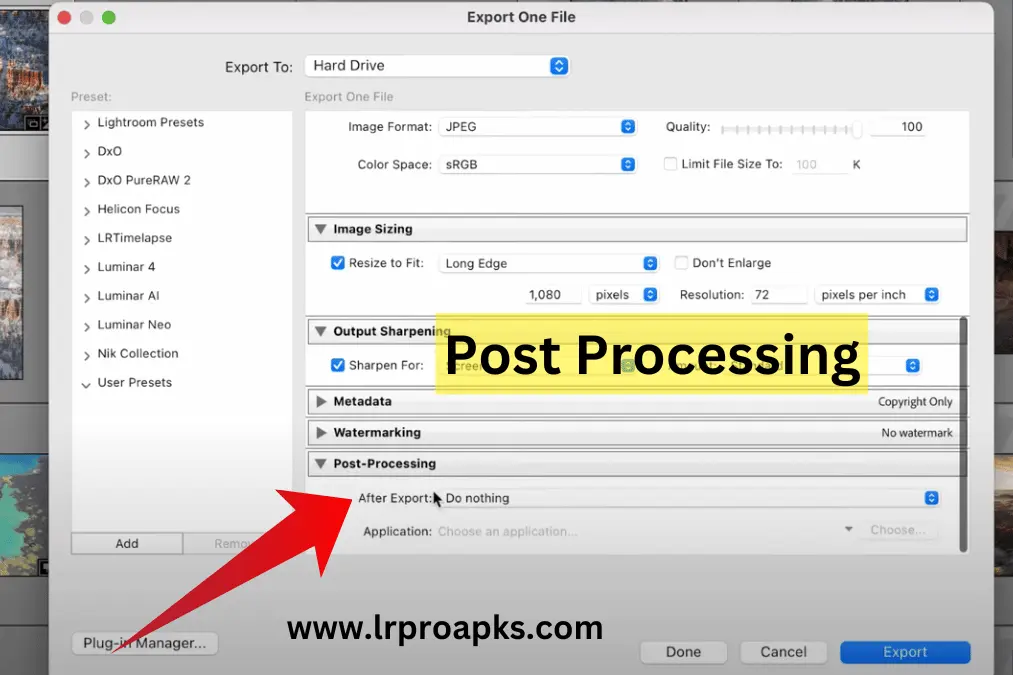
General Export Settings
Here are the general export settings steps in Lightroom:
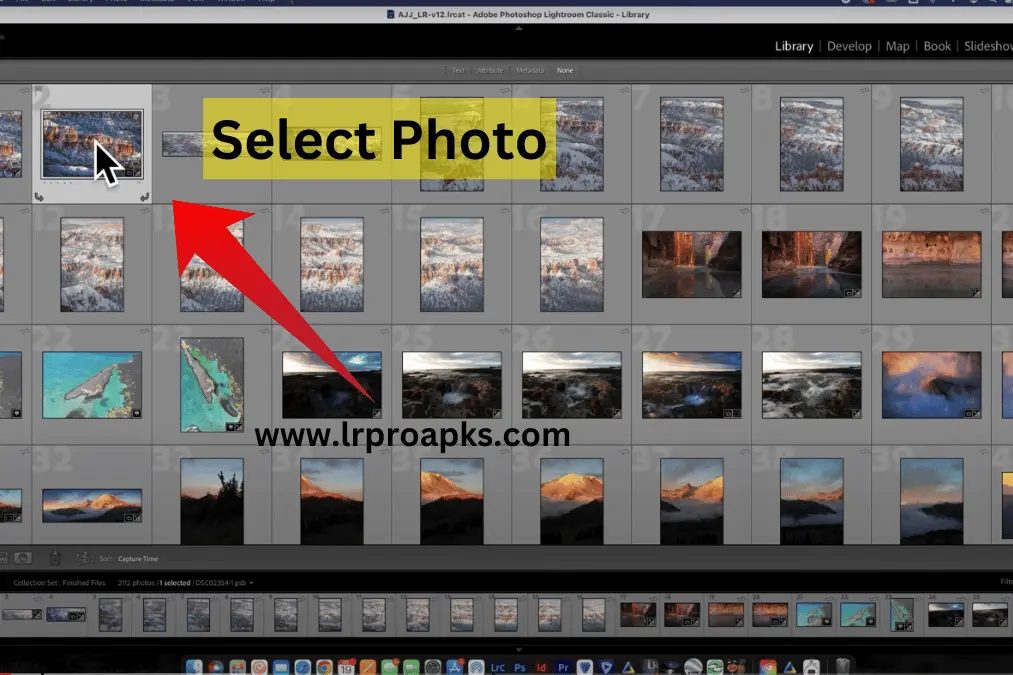
Select Photos: You can either export the images from the Library module or the Develop module depending on which one you are working on.
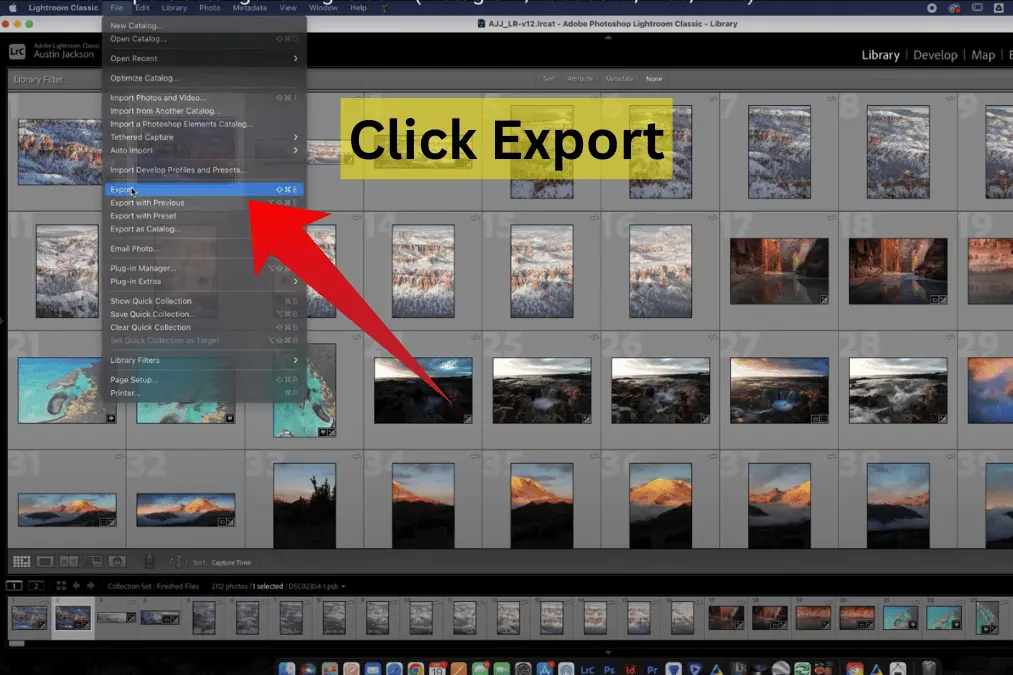
Open Export Dialog: To export, go to File and click on Export in the drop down list to open the export options.
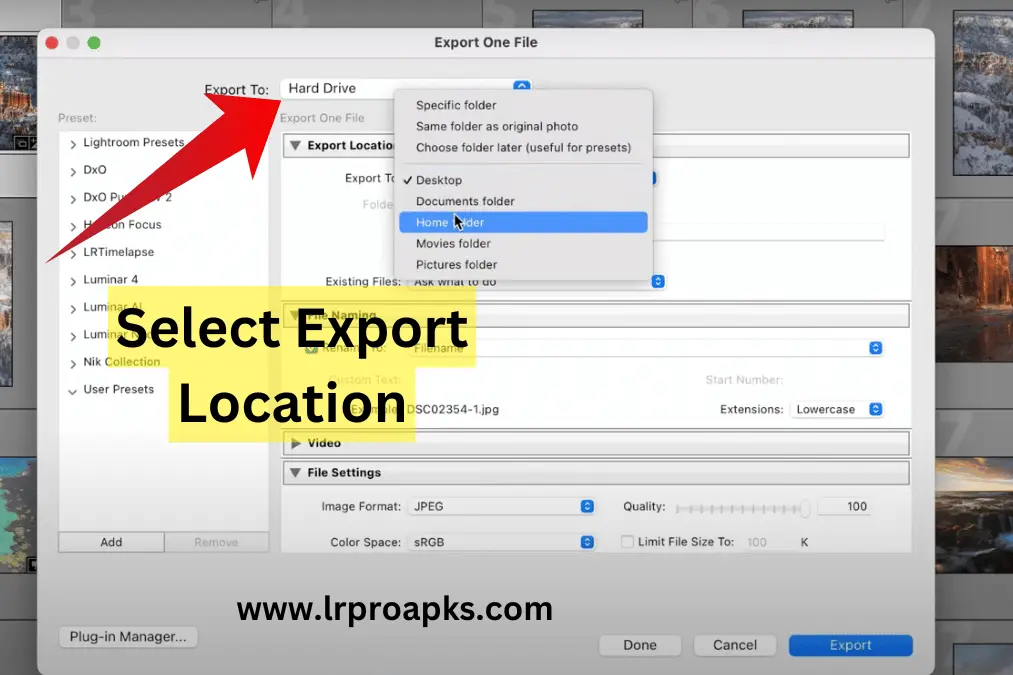
Export Location: Under “Export Location” you can select where you want the exported photos to be saved.
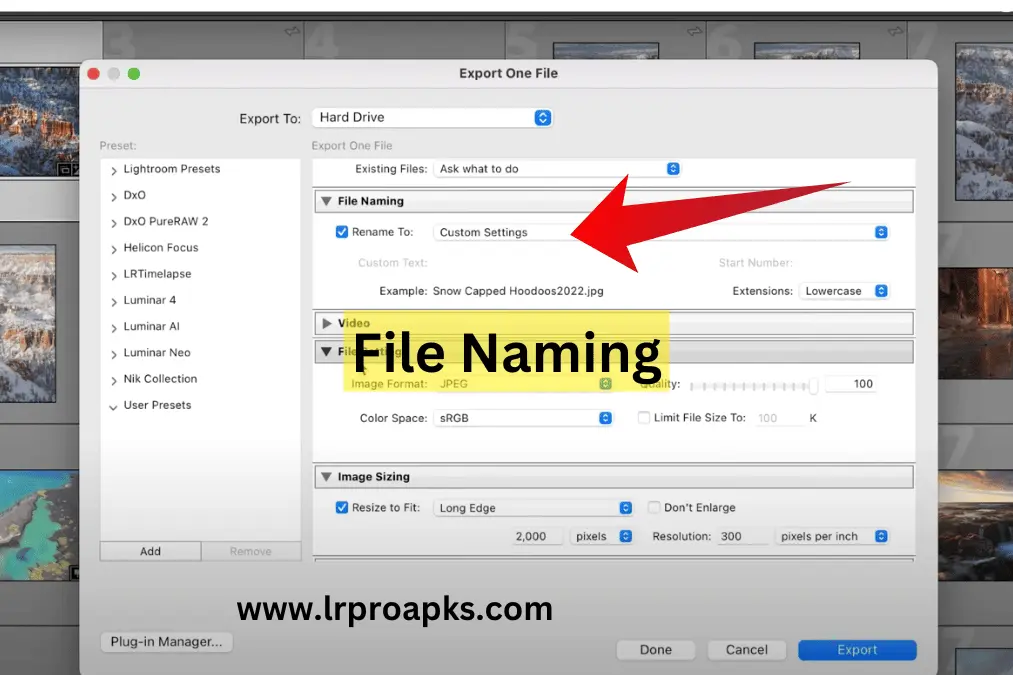
File Naming (Optional): If you wish to change the name of your files, go to “File Naming” to set it.
File Settings:
Format: Choose JPEG, TIFF or any other format that one wants.
Quality: Move the quality bar (usually set at 80-100 percent for high-quality pictures).
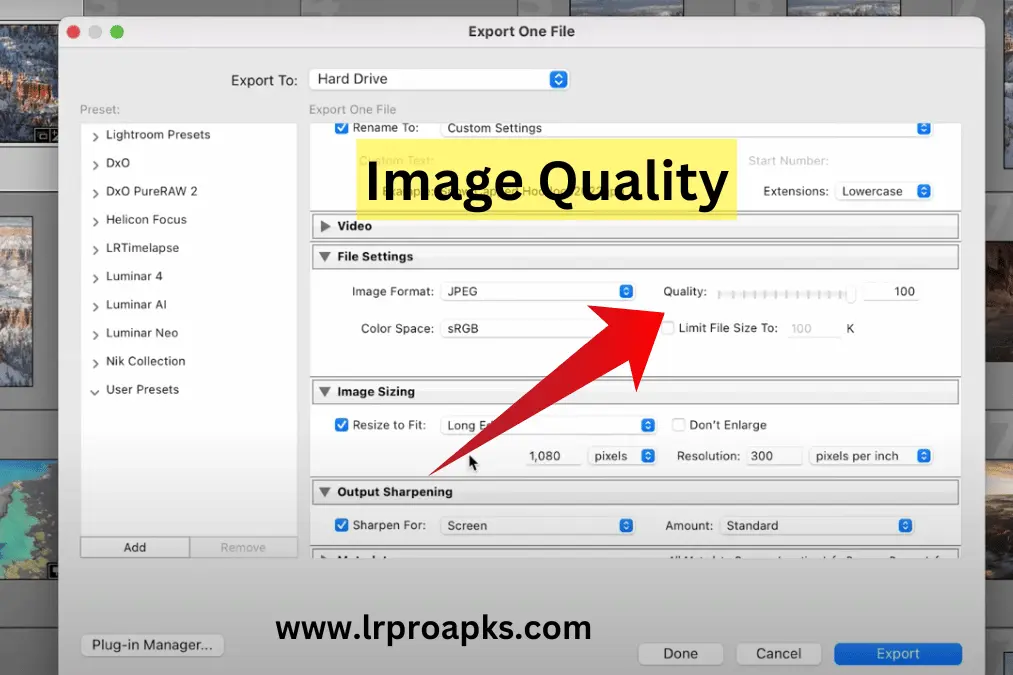
Color Space: For web use, select sRGB while for print use, select Adobe RGB.
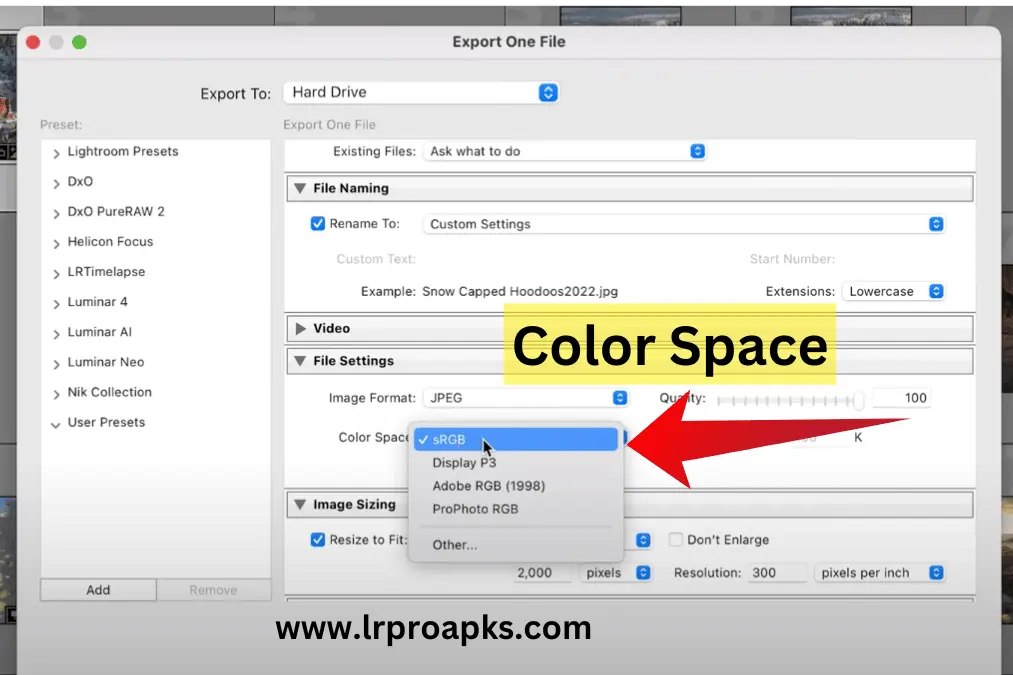
Image Sizing:
Resize to Fit: Choose the dimensions depending on your requirements (for instance, 2048 pixels for the long edge for web).
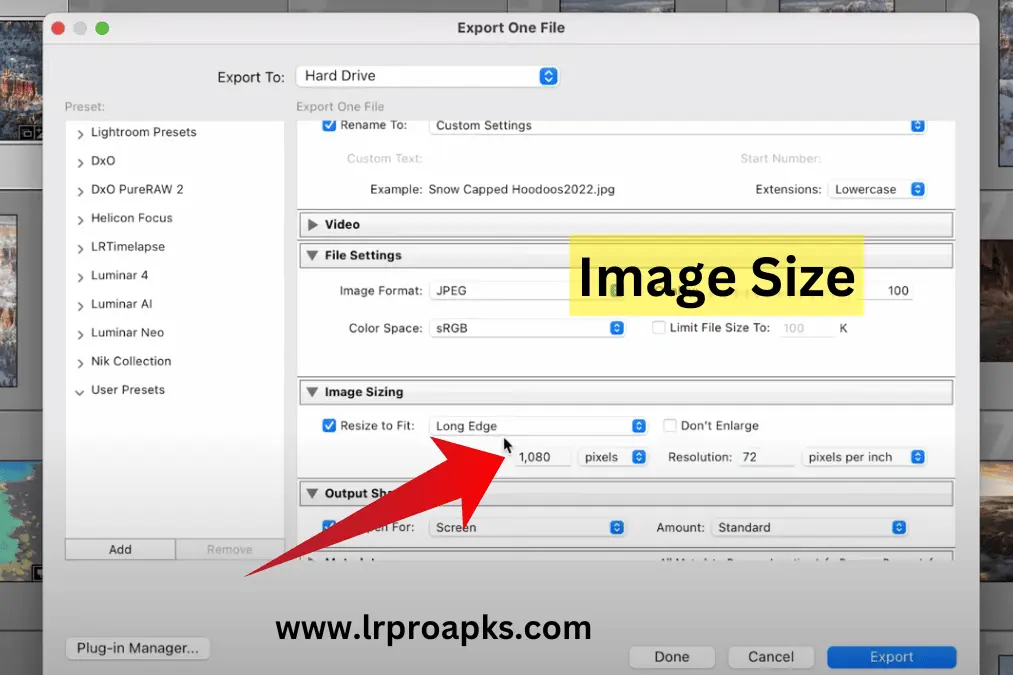
Resolution: Screens should be at 72 ppi while prints should be at 300 ppi.
Output Sharpening:
Sharpen: For online images, select “Screen” and for prints choose “Matte/Glossy Paper”.
Amount: This parameter is set to “Standard” or changed according to the situation.
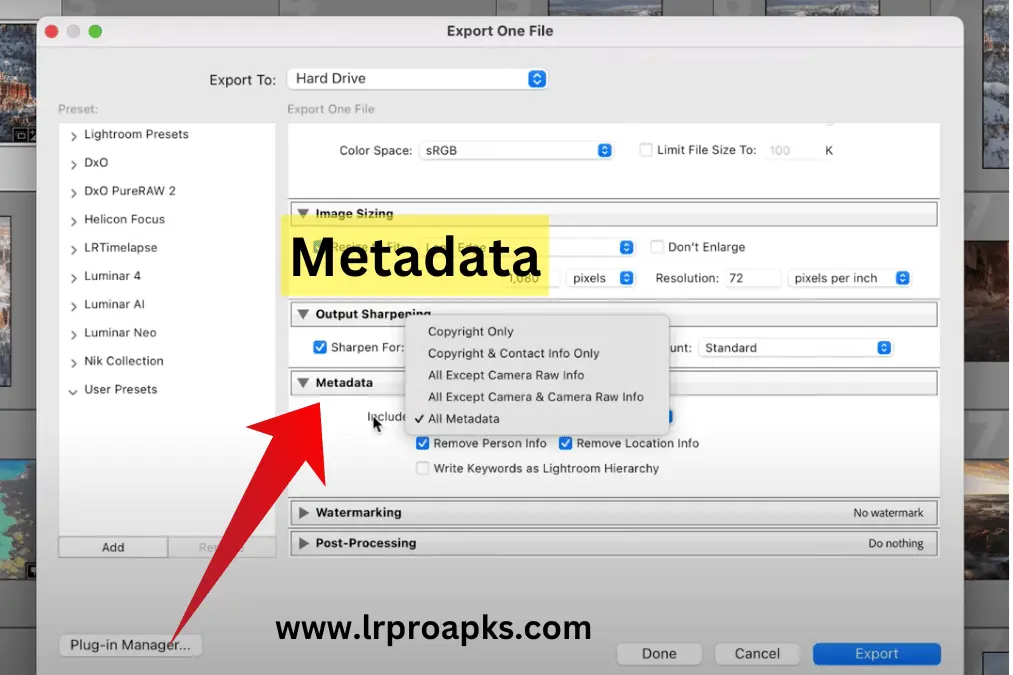
Metadata (Optional): Consider or omit the metadata such as geo-location and other settings of the camera.
Watermark (Optional): If you require a watermark for your document, enter it under the “Watermarking” tab.

Export: To apply these settings to your images, click the “Export” button.
Best Optimised Lightroom Export Settings
At above we have discussed simple steps to export edited image from lightroom, but now we are going to describe best lightroom export settings for different social media platforms including:
Best Exporting Lightroom Preset to Share on Instagram
Instagram is among the most popular social networks globally, and it’s mainly used for sharing photos; however, it is quite picky about the photos’ size and quality. If you want your images to look best on Instagram, follow these export settings:
| Setting | Value |
| Image Format | JPEG |
| Quality | 76-80% |
| Color Space | sRGB |
| Resize to Fit | 1080 pixels wide |
| Resolution | 72 ppi |
| Sharpening | Sharpen for Screen (Standard) |
| File Format | JPEG |
| Metadata | Include Metadata |
| Output Sharpening | Standard |
| Watermark | Optional |
| Export Location | Choose Folder |
| Post-Processing | None |
Lightroom Export Settings for Facebook – With the Best Quality
Facebook is the other website that places a lot of values on image quality. However, it squeezes images quite harshly, which gives a user a low-quality picture with a small dimension and loss of image details. To minimize this, use the following export settings:
| Setting | Value |
| Image Format | JPEG |
| Quality | 80-85% |
| Color Space | sRGB |
| Resize to Fit | 2048 pixels wide |
| Resolution | 96 ppi |
| Sharpening | Sharpen for Screen (Standard) |
| File Format | JPEG |
| Metadata | Include Metadata |
| Output Sharpening | Standard |
| Watermark | Optional |
| Export Location | Choose Folder |
| Post-Processing | None |
| File Naming | Optional |
| Bit Depth | 8 bits per channel |
Best Lightroom Export Settings for Print
When you are printing your photos, you wish to make sure that the prints are as clear as the original image. The predefined parameters that you employ when working with Lightroom are more essential in getting quality prints. Here are the recommended export settings for print:
| Setting | Value |
| Image Format | JPEG or TIFF |
| Quality | 100% |
| Color Space | Adobe RGB or ProPhoto RGB |
| Resize to Fit | Based on print size (e.g., 8×10 inches) |
| Resolution | 300 ppi |
| Sharpening | Sharpen for Print (Low/Standard) |
| File Format | JPEG or TIFF |
| Metadata | Include Metadata |
| Output Sharpening | Low or Standard |
| Watermark | Optional |
| Export Location | Choose Folder |
Lightroom Export Settings For Web
| Setting | Value |
| Image Format | JPEG |
| Quality | 70-80% |
| Color Space | sRGB |
| Resize to Fit | 1200 pixels wide |
| Resolution | 72 ppi |
| Sharpening | Sharpen for Screen (Standard) |
| File Format | JPEG |
| Metadata | Exclude Metadata |
| Output Sharpening | Standard |
| Watermark | Optional |
| Export Location | Choose Folder |
| Post-Processing | None |
| File Naming | Optional |
Best Lightroom Export Settings for Other Platforms
Besides Instagram, web, print and Facebook, it is also possible to share the photos on other sites, for example, on Twitter, on Pinterest, or on your own website. Here’s how to adjust your settings for these platforms:
- Twitter: Images are compressed a lot on twitter, so use the same settings as for Facebook. Quality should remain at 85% and width should not exceed 1600 pixels for optimal performance.
- Pinterest: It is also important to note that Pinterest prefers tall images. Make the width of the box 735 pixels and the height of the box as per the requirement. Preferred format should be JPEG and the image quality should be set to 85%.
- Websites/Blogs: If you are developing a website or a blog, then the width of the image should be 1200 pixels. JPEG is preferred with 80% quality in order to load the images quickly and still retain a good quality of the image.
It does not matter which of the platforms is used, the important thing is to set the right dimensions and quality. This helps you to have good looking photos that are also good fit for the web.
Frequently Asked Questions
What are the best export settings for Lightroom?
The best export settings are relative to the platform. For web use, use JPEG format, sRGB color profile, 72 PPI, and the size should depend on the website. For print, you should use JPEG or TIFF format, Adobe RGB or ProPhoto RGB color space and 300 ppi resolution.
What is quality in Lightroom export settings?
Quality in Lightroom export settings defines the amount of compression that can be applied to the JPEG format. The setting 80-100% provides better image quality but larger file size while the setting of less than 80% provides small file size but may reduce the quality of the image.
How do I change export settings in Lightroom app?
If you want to change export settings in the Lightroom app, go to the share icon, then tap on Export As and you will be able to change the format, size, quality and many others before exporting the image.
What is Lightroom export original settings?
Lightroom has the export function and within the export settings there is an option called “Export Original” which exports the photo in its original form with no changes made. This is helpful for archiving or moving the raw files around with no compression or loss of quality.
Conclusion
The Lightroom export settings are important to anyone who is serious about their photography, whether you are posting on Instagram or Facebook or if you are going to print your photos. The right settings help in making your photos to be quality as they appear even if they are viewed in other settings.
No matter if you interact with the standard Lightroom application or searching for the features of the Lightroom mod apk, it’s better to follow these tips to get the maximum result from the images. Always ensure you set your photos according to where they will be viewed and your photography will always come out well.
These are the tips to help you prepare and export your images for the best quality to be used on any platform. Happy editing!